
Loading Programs from WAV Files
It may seem like a simple process to load programs or data from “tape” into a pocket computer. However, there are variables that can affect whether or not you have success doing so, or, how many attempts it takes for it to work. In my experience, I’ve found that no two pocket computer models work exactly the same. In addition, I am not using a traditional cassette tape player/recorder – I am using a PC. This allows me to store my programs and data on my PC and post them in blog entries or share them over email. It also serves as a more durable archive than cassette tape (in most cases).
The first point in the process is to realize that each pocket computer and each PC’s microphone input have differences that result in variations in the recorded WAV files when saving programs and data. For this reason, I do not pay much attention to the recording itself, other than to ensure that I have the recording start before the computer starts with the audio tones, and I make sure to end the recording after the audio stops. If you do not capture the entire bit stream, then you simply cannot load it later on.
There is very little that can and should be done to correct for these variations in output from the pocket computer and PC input level, other than to ensure a minimum level that correctly captures the bit stream.
The second point in the process is to “normalize” the recording(s) and to be able to adjust the output level from the PC into the pocket computer. The point of normalizing the recorded audio is to have all recordings from all pocket computers be at a baseline level which makes for adjusting the output level easier. It ensures if one recording loads correctly, all others should also load correctly, and at the same level or settings.
PC Recording Software
I happen to use Audacity as my recording program for the PC. The program used really isn’t important as long as it has a few features that make the process easy to follow. Here are the key features I find necessary for the recording software:
- Visual indication of audio level and waveform
- “normalize” feature or similar which can bring the audio level to a consistant standard level
- Export/Save as WAV file
- Visual indication and adjustment of output level
Recording
When saving to the PC, I have my microphone level at the maximum it can be set to, and I usually record at least a ~22khz sample rate. Of course it is possible to lower this, but I figure space is not as much as an issue as it once was, and I do not want to lose sampled data or accuracy. I usually ensure the level visually is acceptable before continuing to the next steps:


Not every pocket computer has a buzzer to hear the generated audio tones, which is why the visual waveform indicator during recording is helpful. When you see the level drop to zero, you know the output from the pocket computer has stopped and you can stop the recording.
Note that there is a bit of quiet at the beginning and at the end of the recording. This is a good indicator that the entire bitstream was captured and not cut off.
The audio level here in this example is marginal or “okay” – it is a bit on the quiet side, and if played back into the pocket computer, some heavy amplification is necessary. I use the Normalize feature in Audacity, which simply auto adjusts the waveform to a maximum “safe” level that is consistent across various input levels – the output is always at the same level.

The result is an adjusted level which will be consistent across all of the various input levels and at a safe level without distortion:

The next step is a bit important – saving to a sharable format and with a file name that is helpful. The format in my opinion should be WAV, not MP3 or other format. The reason being that it is simply most compatible. MP3 and other compressed formats might work fine, but it introduces additional variables that might be an issue later on or for someone else.
In addition to saving as a WAV format, I recommend that the file be saved with the same name as the name you used with the save command on the pocket computer. For example, to save from a PC-2, the following command would be used:
CSAVE"QSL"In the example above, I labelled the program “QSL” when saving. Therefore, I save the WAV file as QSL.wav. This informs the person loading the file to use the same name:
CLOAD"QSL"On most pocket computers, if you present a name when using the CLOAD command, if the name saved in the bit stream does not match, then it will fail to load. Some may prefer to skip the name altogether, and simply use:
CLOADThis skips the name verification during load. Of course, some pocket computers may not allow this. Some may not even use names.
Using WAV files from the Internet
Sometimes I have downloaded WAV files of stored programs from the internet. These can vary in terms of quality and audio level. I almost always “normalize” these as well, so that I can load them with the same settings I use with my own recordings.
Loading from WAV files
Now that your programs are saved to WAV files, loading them should be as simple as possible. Of course, there are variations in pocket computers and levels from PCs, so no two systems will be identical. This is where some simple organization can be helpful.
For example, I had saved my QSL program and months later I wanted to load it. I had saved it from a PC-1500 and wanted to load it to a PC-2 (functionally the same pocket computer). It took me about 30 minutes to figure out why it wasn’t loading. I had to set the volume or output level from the PC just right. Believe it or not, just 2 percentage points on either side of 76% volume did not work at all.
I recommend writing down the output level which works for each pocket computer. This way, months later or years later, if you have the same PC and software, you can simply look up the output level and not have to figure it out by trial and error.
With Audacity, I do not add any volume or amplification on the effects bar (left side), but I adjust the volume or output level on the top right:

By normalizing the recorded WAV files, the only variable to adjust is the playback or output level from the PC to the computer. Once the working level is found, that same level can be used for all recordings for the same pocket computer.
Final Thoughts
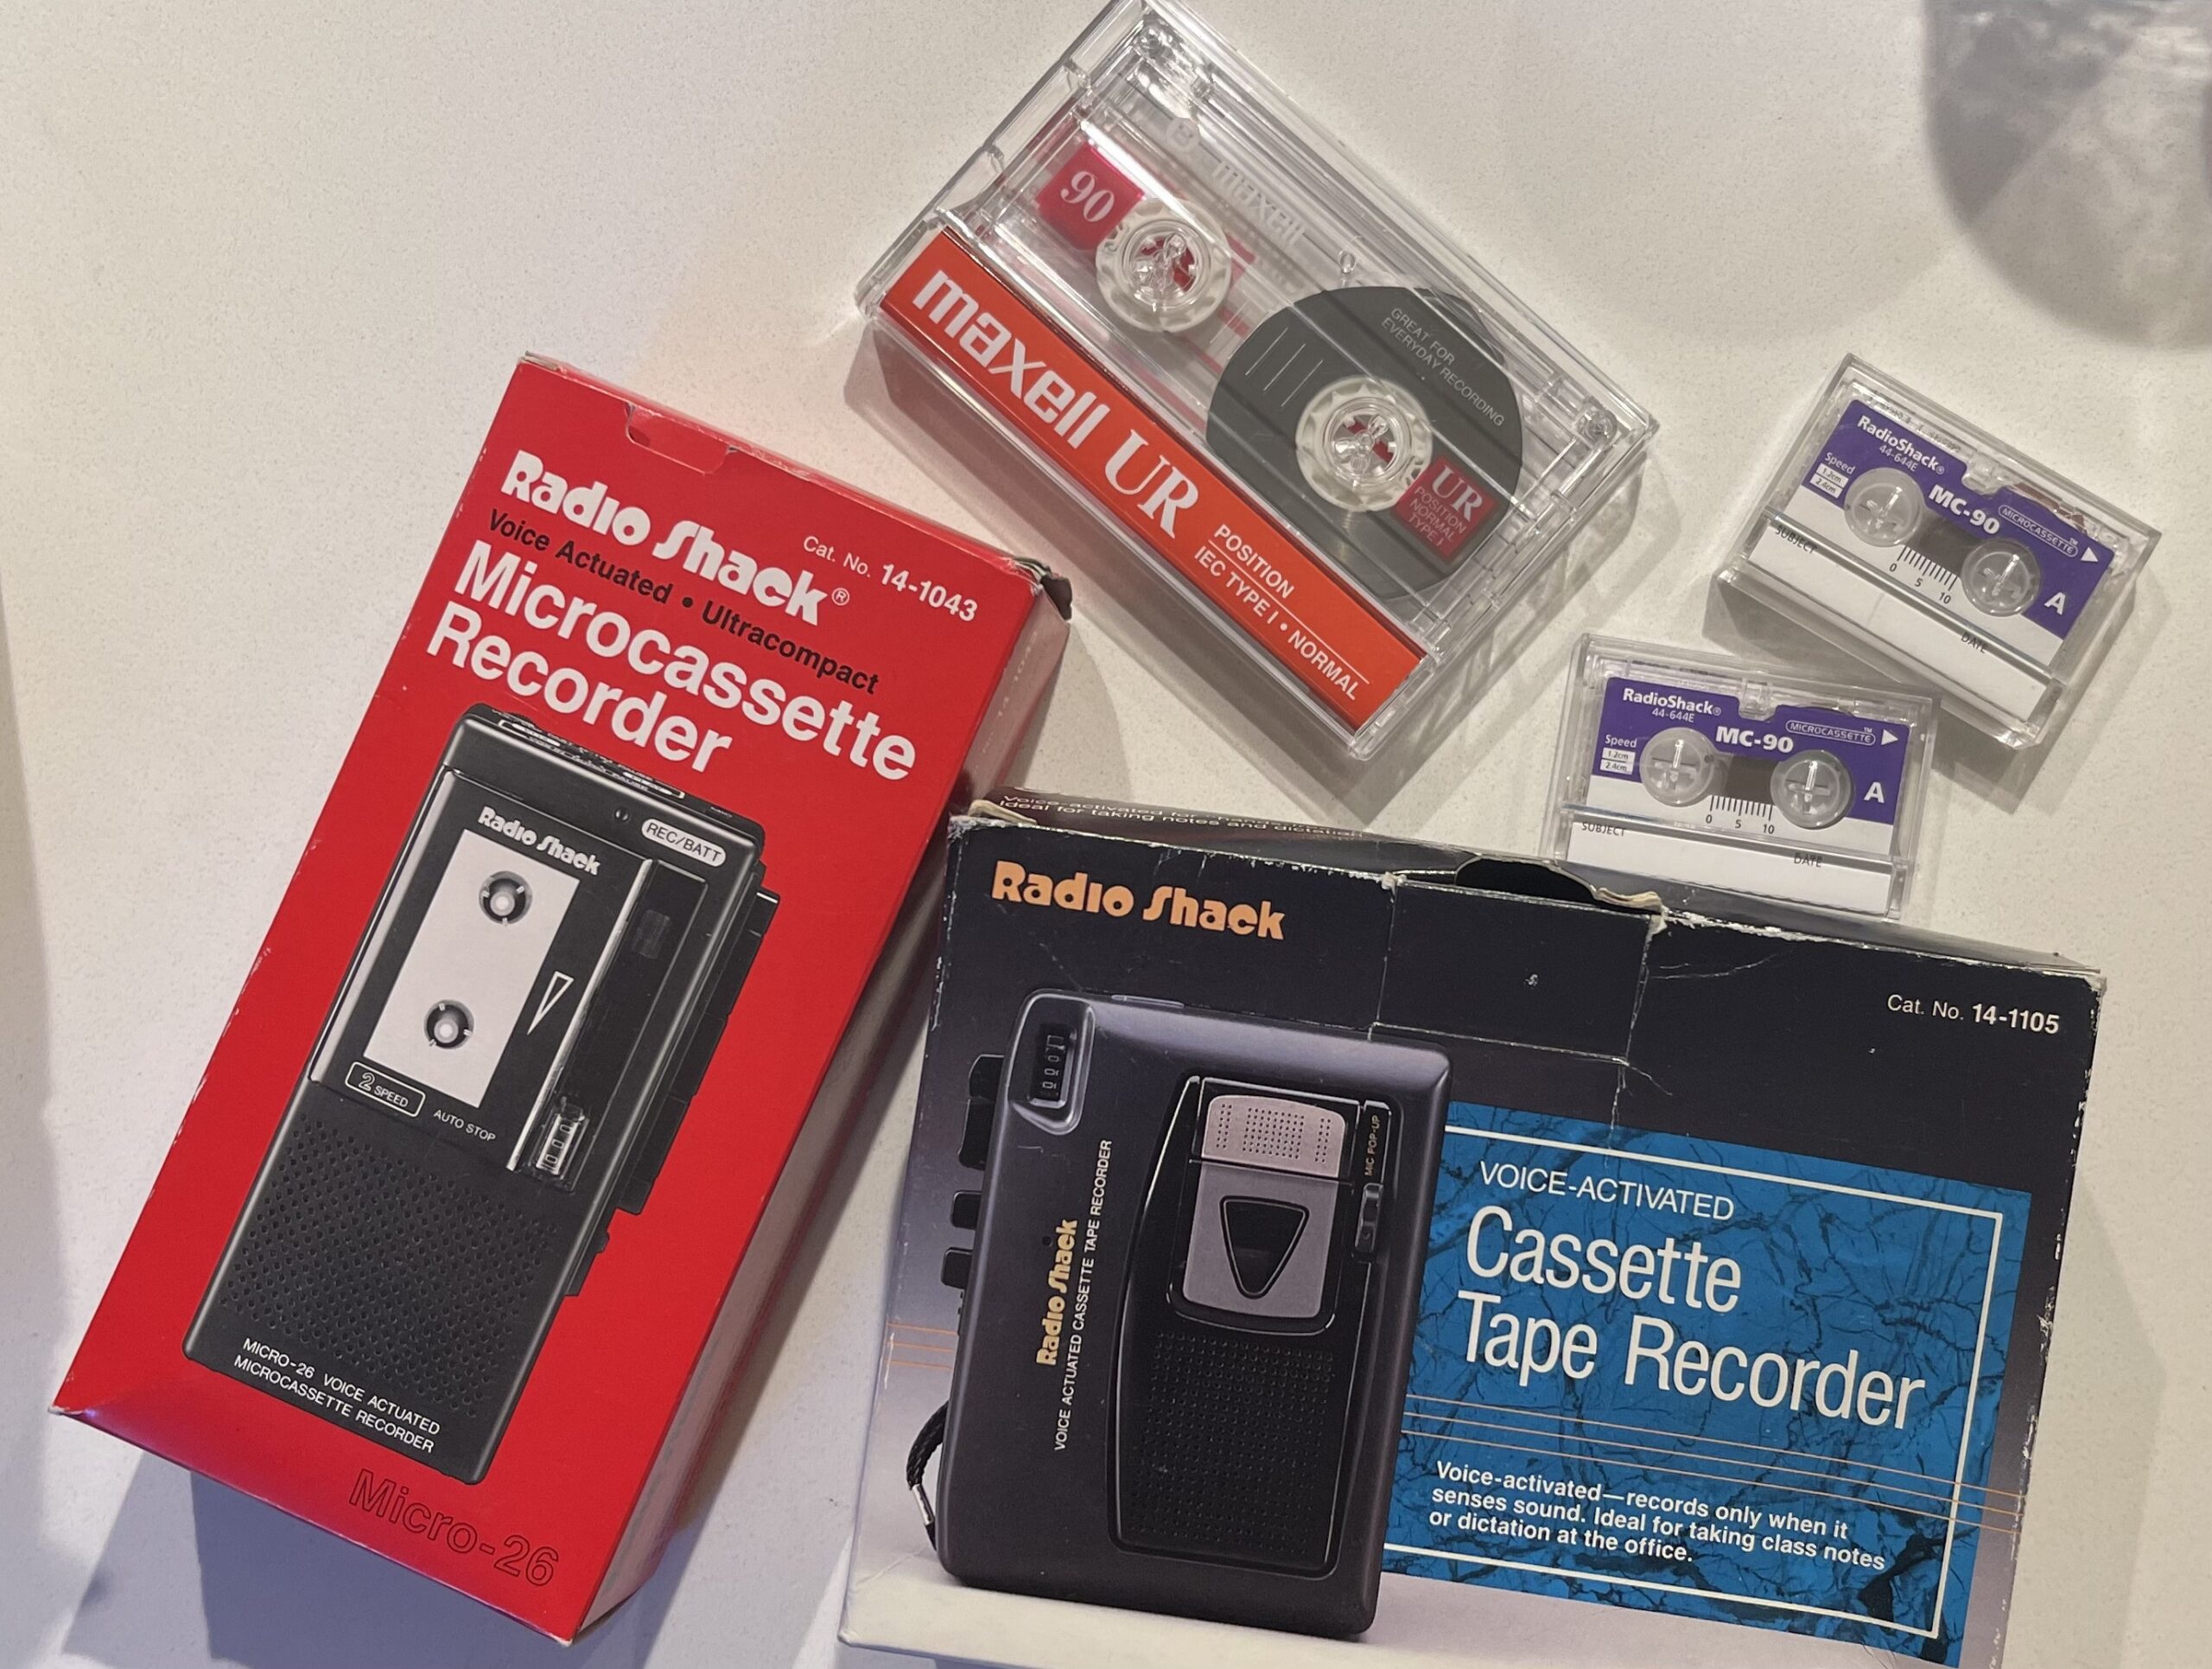
It is quite impressive that the standard cassette or even micro-cassette was chosen as a popular means to record programs to for vintage computers. Tape recorders were readily available, cheap, and durable. Of course diskettes became the norm shortly afterwards, but the cassette was a clever choice at the time.
These days using a PC or Mac to save and load programs replaces the traditional cassette tape recorders used in the past. Perhaps those were just as finicky as using a PC is in terms of getting the levels just right. However, standardizing on a process and writing down the working settings can save quite a bit of time later on when loading programs.