
Adding Active Cooling to Older Transceivers
Many newer transceivers have active cooling systems built-in, usually in the form of a fan to direct air through a heatsink. Some of these systems can even vary the speed of the fan to save power and also to reduce noise.
For example, my FT-991A and Kenwood hybrid rigs both have fans to keep the power amplifier section of the transmitter cool. In the case of the FT-991A, the fan speed is variable. In the case of the Kenwood hybrid rigs, the fan runs at a constant speed.
Interestingly, the hybrid rigs do not have transistors in the power amplifier, so there is no heatsink at all. The fan simply moves air over and around the vacuum tubes. The FT-991A also has a very small heatsink inside for which the fan helps transfer heat out of the radio.
Adding Fans to Mobile Transceivers
I recently installed a 2-meter mobile transceiver at the QTH which does not have any form of active cooling – only a large heatsink. This is the second mobile transceiver I set up at the QTH, the first was the TYT-9000D, a 1.25-meter transceiver. This one also does not have any active cooling and also has a large heatsink.
Neither of these mobile transceivers need any form of cooling other than their heatsinks for normal use. However, during extended use, I’ve noticed both run a bit hot.
Buy Instead of Build
Out of curiosity, I looked into how to add a simple and inexpensive option to keep the radios cool. I did not want to have to leave any fans running all the time, since I leave these radios on. I also did not want to have to switch the fans on or off myself. What I was looking for was a way to have the fans activate when the heatsink gets hot and then shut off after they have cooled down.
I wanted something already made, rather than building something myself. There are quite a few options for ready-made temperature controllers. I decided on the DROK modules because at the time Amazon had them for just over $9 each, used.

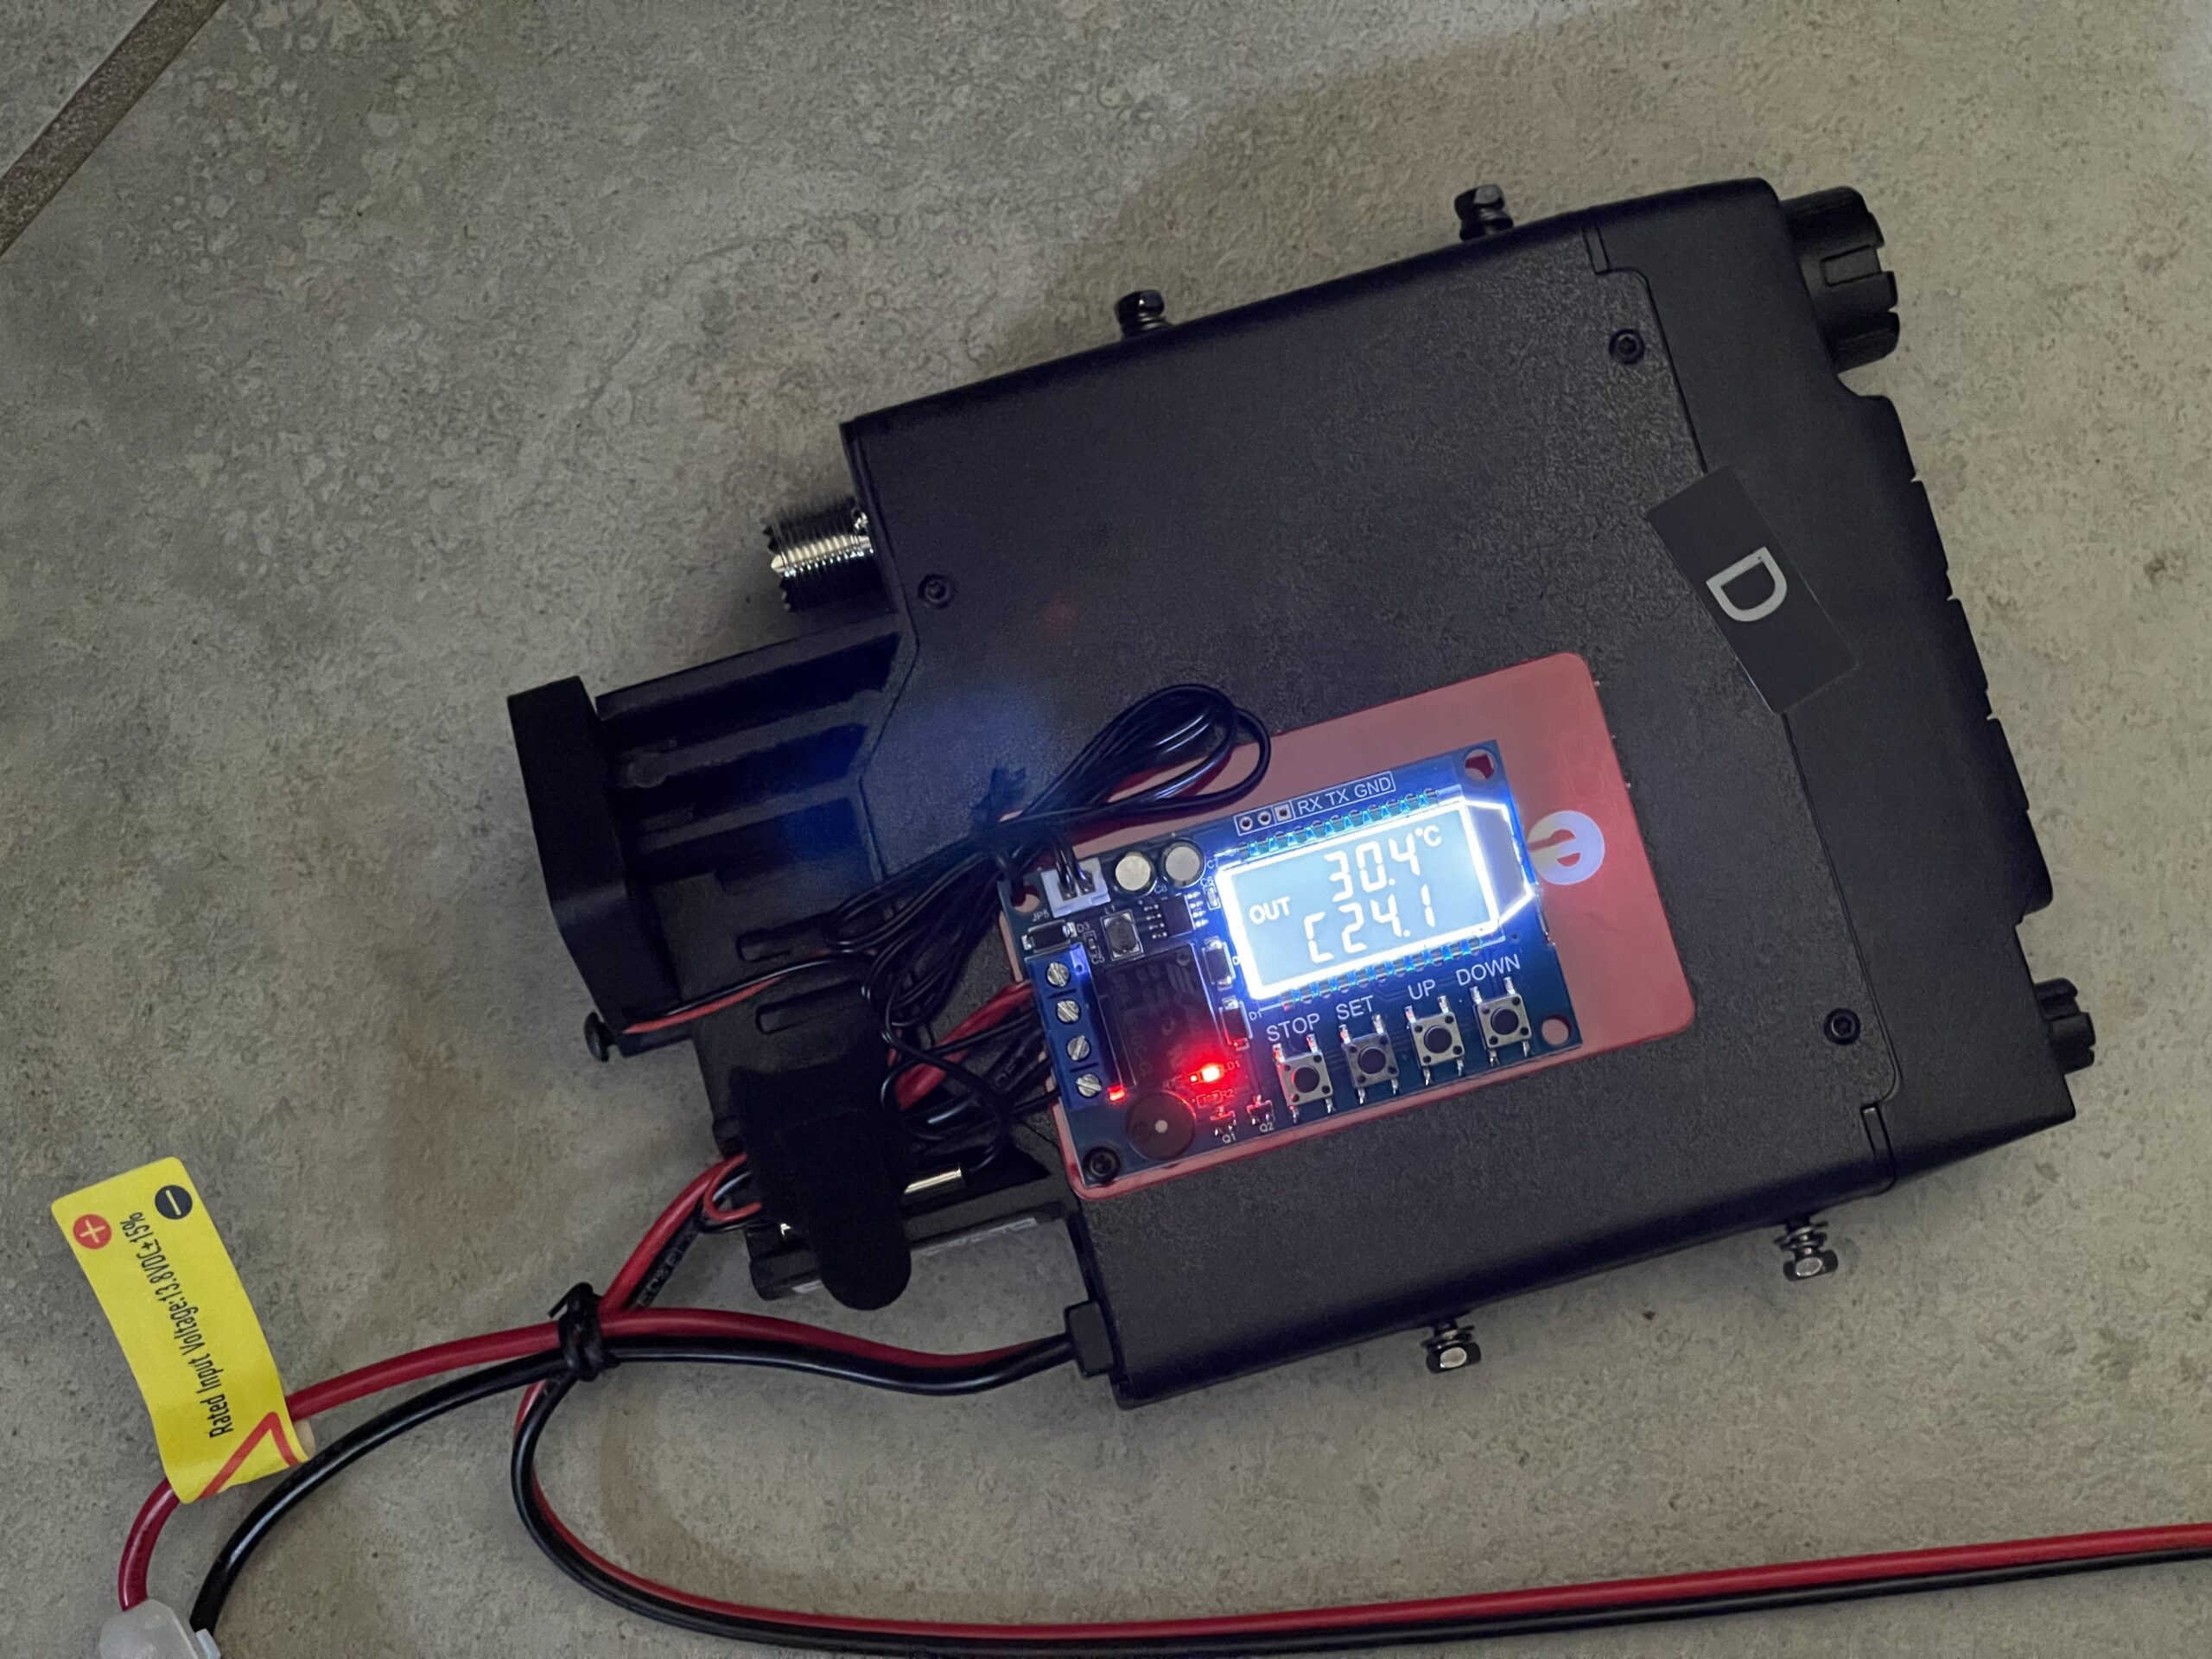
These temperature controllers have a small LCD screen, buttons for setting up the heating or cooling cycles, and a simple relay for controlling the output. Best of all, these can work from 6 – 30 volts DC or a micro USB connector. This means I can use my standard 12-volt supply to power both the controllers and the fans they control.
These units even have a built in UART to control the unit or read the status and temperature via a serial connection at 9600 baud. Although not useful for this project, these could be used for remote monitoring or logging of temperature readings by writing a simple interface program.
The fans I decided to try are also 12 volts (they do not need a PWM controller) and were inexpensive.

The fans are quite small, and a bit loud for their size. However, they should only turn on to cool down the heatsink and then turn off when no longer needed.
Wiring Diagram

The wiring is rather straightforward, the 12 volt supply is fed to the controller unit and the fan output is also fed from the same supply. The negative side of the load (the fan) is switched on by the relay.
The controller comes with some really well detailed instructions, surprisingly.
Attaching to the FT-2500M and the TYT-9000D
Attaching the fans to the FT-2500M and TYT-9000D was fairly easy. Since this is not a mobile installation, it does not need to be all that secured to the chassis. There are many options and considerations for placing the fans. I am not engineering a cooling system for commercial use, so I simply placed the fans on the back of the heatsinks.
I found threaded holes in the back both heatsinks and used the corner of the fans and machine bolts to attach the fan to the back of each one.


After attaching the fans to the heatsinks, I secured the thermistor (temperature sensor) to the heatsink and kept it in place with a rubber grommet on one transceiver and with a velcro strap on the other. The heatsinks do not get hot enough to melt plastic, so I was not concerned with this method of securing the thermistors.


I secured the controller to the underside of each radio by taking advantage of a machine bolt near the corner of the case.

Because of where I mounted the radios, there is not much room to keep the controllers on top of them. And, I do not want the light from the LCDs visible all of the time, so attaching them to the bottom was best. If I need to adjust them, I can peek underneath to make adjustments to the settings.
The 12 volt supply to the controllers (and the fans) is fed via 16 AWG wire with PowerPole connectors. I then connected these to my 12 volt distribution block instead of the 13.8 volt block.
Calibration
In order to minimize noise and unnecessary fan usage, I warmed up the radio with a QSO on 2-meters and waited for the heatsink to get as warm as I wanted it to when I wanted to have the fan turn on.
I then peeked under the radio and read the current temperature (38 degrees C). This was the point I set the cooling mode to engage at. These units are limited to displaying only Celcius and not Fahrenheit, but since I am using these only for controlling a fan, and not actual temperature reading, this is acceptable.
The actual temperature value was not relevant as I have the sensor touching the heatsink, without any thermal compound. Therefore, the temperature measurement is an approximation. This controller is not controlling a freezer or medical device so the accuracy is good enough.
The controller retains its settings if power to the controller is removed. This is a very nice feature.
Success
After setting up the temperature switch on both rigs, I was able to see that they turned on when needed and turned off after each had cooled down.
Final Thoughts
Even though these transceivers do not actually need fans to keep them running, adding them with a temperature controller was quite an easy and not too expensive project. These are not mounted permanently and can be easily removed if needed, or moved to another transceiver.
Over time I can adjust the temperature trigger to a higher value if I find the fans are too loud or if I find that a higher setting would still work reasonably well.
It might be worth while to try larger fans which may be more quiet than the very small fans I chose. However, cost was the biggest factor in my choices for components – I did not want to spend more than necessary to accomplish the task for something that might not be entirely necessary for normal operation.