
Tandy PC-4 Pocket Computer
The PC-4 was a rebadged Casio PB-100(F). In fact, this was the first rebadged Casio pocket computer Radio Shack sold. The first three pocket computer models (PC-1, PC-2, and PC-3) were all rebadged Sharp models. Radio Shack would go on from here to rebadge Casio models up to and including the PC-7.
The PC-4 was extremely limited compared to the previously released Radio Shack pocket computers. The BASIC commands supported were limited, like the PC-1, but with far less memory. Only 544 bytes were available after a full reset. It had a 12 character LCD, no buzzer, and an expansion port. The rebadged Casio models had a dedicated memory remaining display. This was always visible, unlike the rebadged Sharp models. When entering programs on this model, that 544 bytes disappears rather quickly.
As this was the first Casio model for Radio Shack (the first three models were Sharp models), the program space was segmented into 10 areas. These areas are P0 through P9. This differs from the Sharp models where the program space was not segmented at all. If you wanted to store more than one program, you had to do so by getting creative with the line numbers (keeping programs segmented). With the Casio models, the segmented program areas allow for up to 10 programs, each in their own space.
This Casio made model had durable plastic keys, whereas the future Casio models Radio Shack would release had rubber keys.
There was a memory expansion module offered, a 1 KB upgrade. This brought the PC-4 to a more useful state, and in my opinion should have been built in, like with the PC-7. Then again, with such limited BASIC support, lack of scientific functions, etc, it might not have been much more useful with more memory. Finding one of these memory expansion modules is near impossible.
Radio Shack Pocket Computer Releases

Notice the typo on the screen in this advertisement in the 1985 catalog. The screen on the PC-4 says “TRS-80 PC-3”. Whoops!
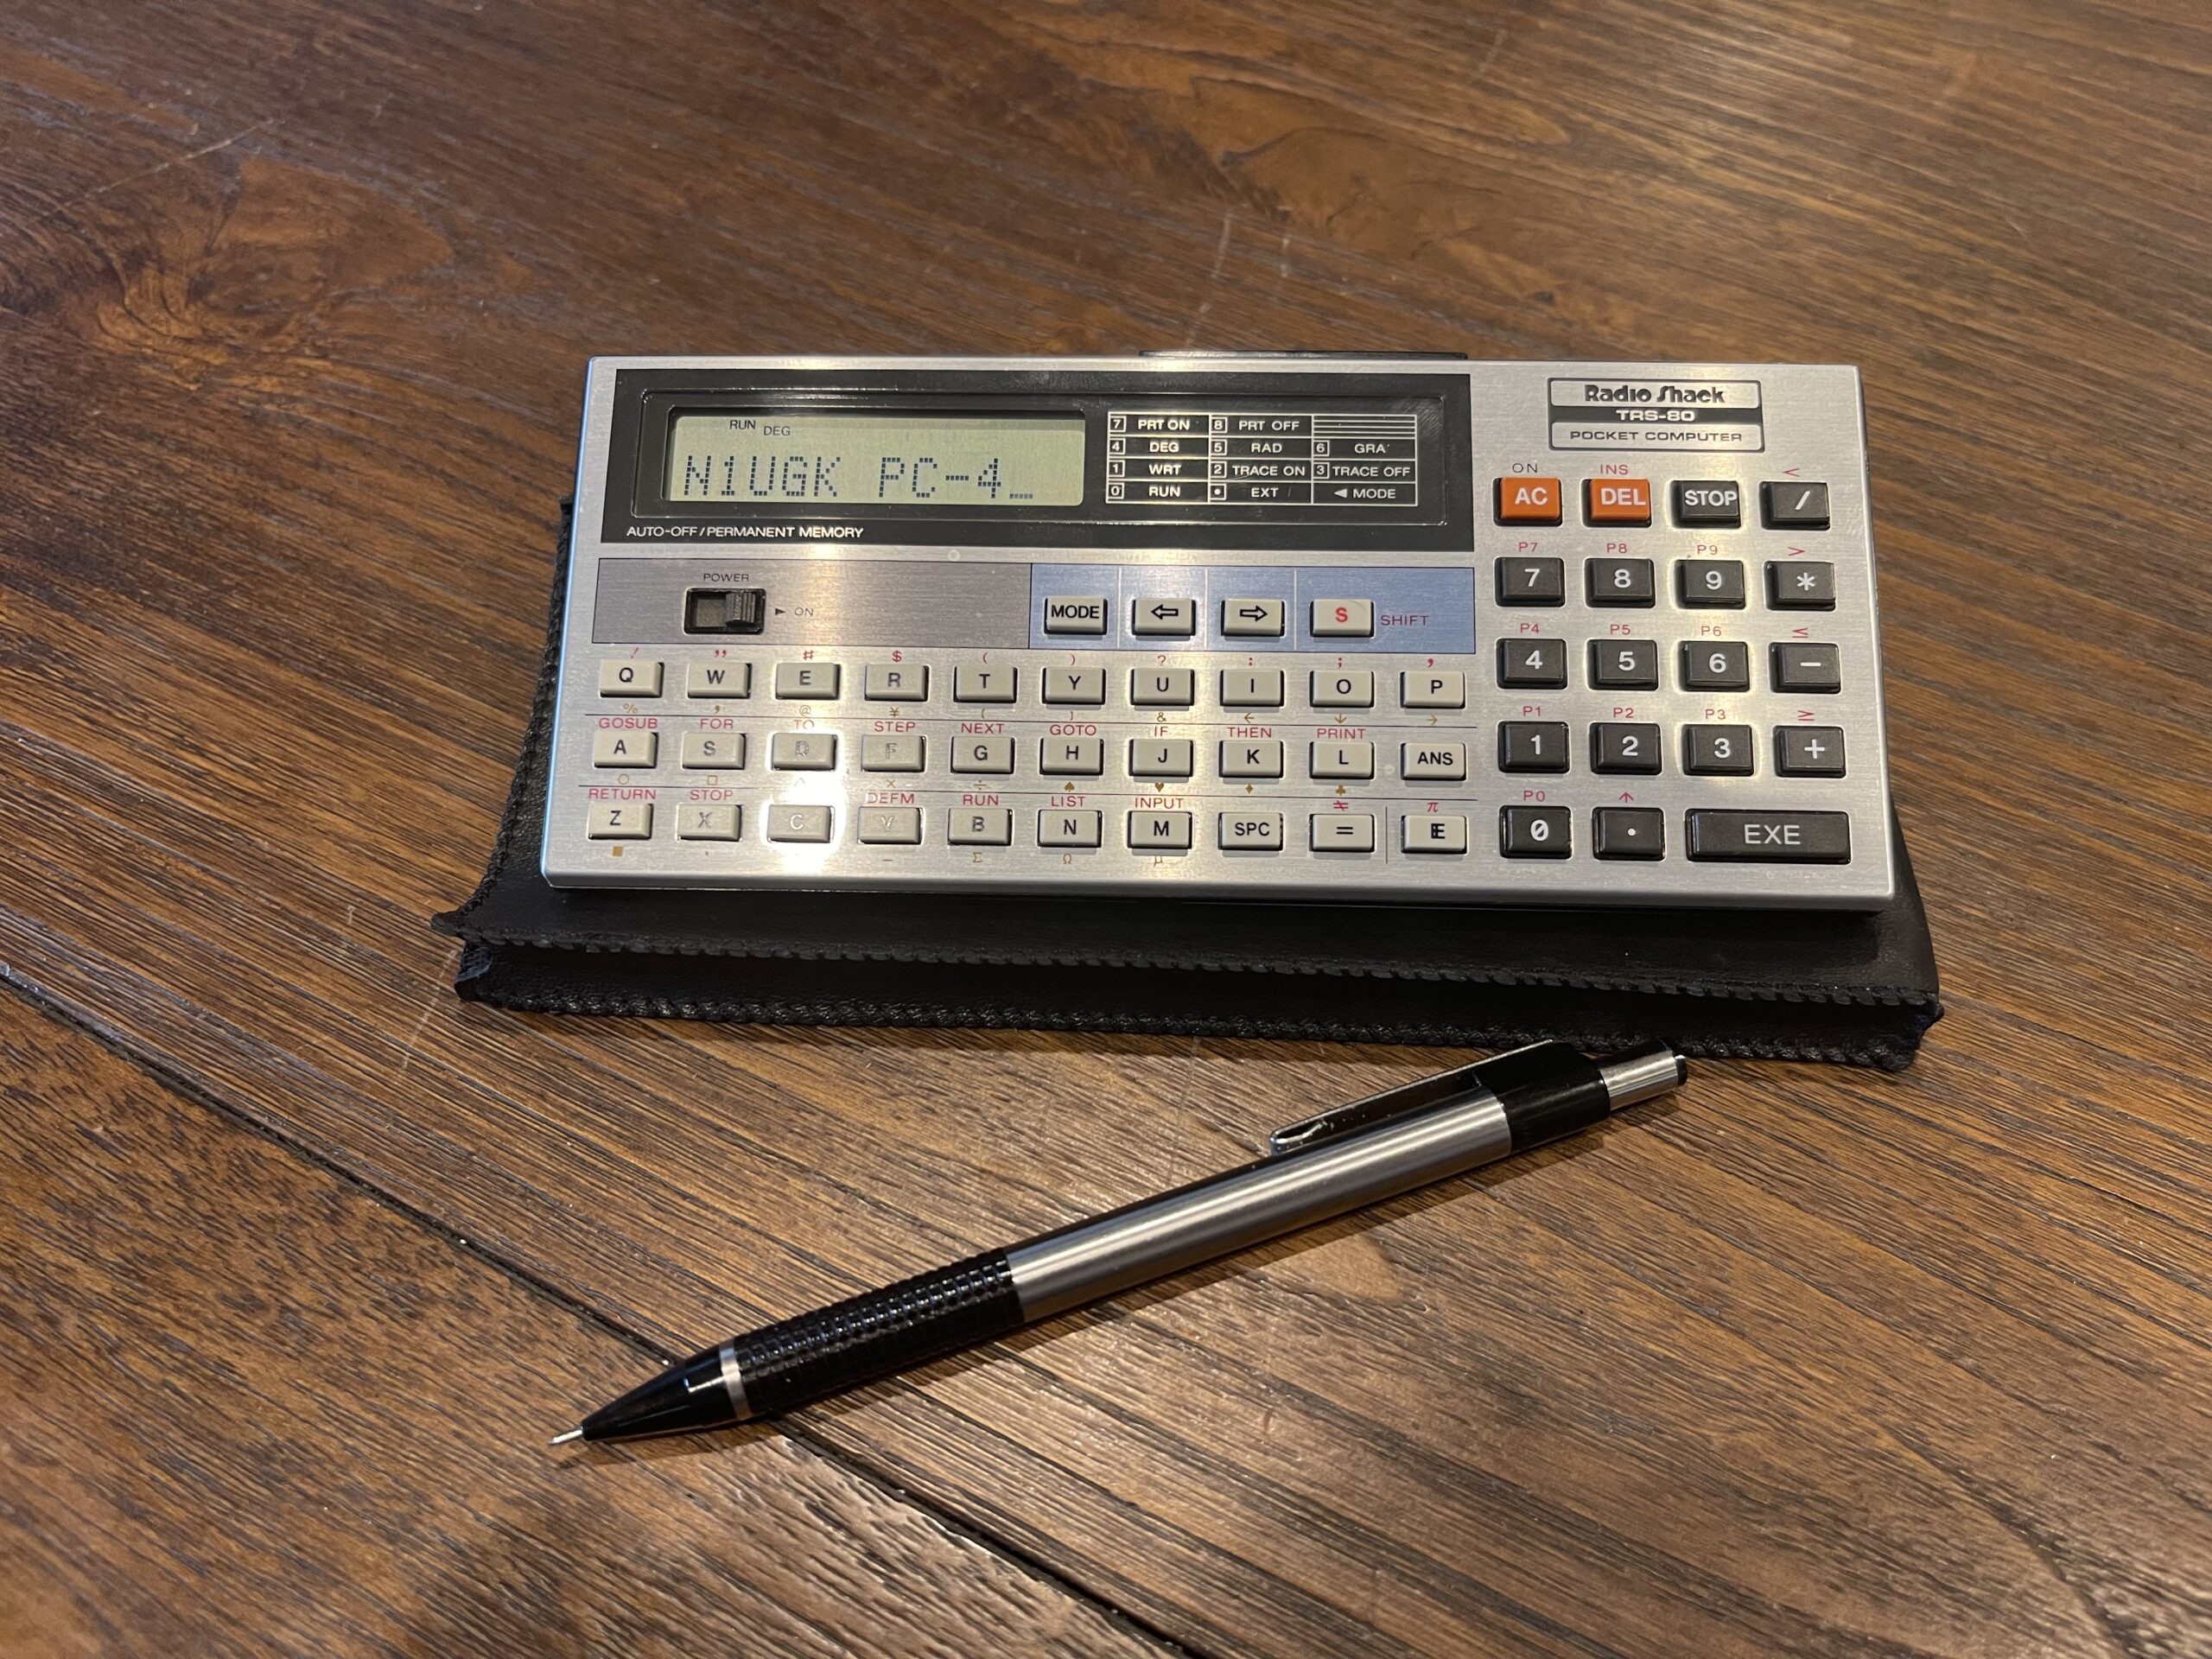
Like with the PC-3, there were two versions of the PC-4. The first was advertised in the 1984 catalog, with a badge “Radio Shack TRS-80” as seen in the photo above.
A second version was released in 1986 with a badge “Tandy”, replacing “Radio Shack TRS-80” as seen in the photo below.

The printer was fairly cheap at $79.95 and so was the cassette interface at $39.95. If you bought both of these for the PC-4, it was only 5 cents cheaper than the PC-3 printer & cassette combo.

It’s interesting that Radio Shack mentions the baud rate when describing the cassette interface. I’ll bet one could transfer a program from one PC-4 to another PC-4 over a telephone connection using the tape interface, an amplifier, and an audio coupler.
It seems Radio Shack corrected the typo on the screen in this catalog update for 1986. However, they kept the same catalog number (only in the catalog itself), whereas the boxes, owners manual, and back of the pocket computer thereafter would indicate 26-3650B for the updated version. Likewise, the remaining previous versions were sold with catalog number 26-3650A on the boxes and owners manual.
The second (“B”) version of the PC-4 added more BASIC commands, some of which included DATA, RESTORE and READ. This was the rebadged Casio PB-100F. Interestingly, the only user manual I can find online is for the “A” version, which is below. I scanned a copy of the “B” version owners manual, linked below:
The differences in the “B” version in appearance are minor, mainly in the badging. Radio Shack dropped the TRS-80 branding in favor of the Tandy branding in the “B” version:


Some of the buttons have changed, specifically the basic shortcuts above the B, N, L, F, G, H, S, D, F, and M keys.

The Programming Guide (a much better resource and addition to the owners manual) between the two is largely the same, except that the “B” version includes a command reference section and is indexed in the table of contents. Even though there are more functions and commands available in the “B” version, there are no changes to the sample programs and no new sample programs in the updated programming guide.
All version “A” programs will run on version “B” PC-4’s and a summary from the owners manual on the additional support on the “B” version is below:

Books
On occasion I will run across books for some of the later models of the Radio Shack pocket computers. As time went on, as computers became more mainstream and widely available, fewer books were written for pocket computers. Below is a book for the PC-4, The Program Begins by Gerald Krug, published in 1983:
Ebay Find
I found a PC-4 on eBay (the first version) which happened to have the 1 KB RAM module, Radio Shack Catalog number 26-3653, all of the boxes, manuals, spare CR-2032 battery (only one), and a pack of “AA” NiCd rechargeable batteries. The packaging for the PC-4 was big, compared to some of the others. This was the first version of the PC-4.


Printer and Cassette Modules
The PC-4 had a printer and cassette option, separate modules, unlike the other pocket computers which had a single combination unit for the printer and cassette.

The cassette interface module for the PC-4 (also for the PC-5 and PC-6) came with a carrying case and requires two “AA” size batteries. Oddly, I seem to have been able to load and save programs without the batteries in the unit and with the power switch off. Perhaps the “AA” batteries help save the internal PC-4 batteries.
The printer module came with a plastic spacer/holder that allowed for use of the printer by itself (without the cassette interface). The PC-4 would attach to this holder and that would then attach to the printer.

The printer has an internal NiCd battery pack (“AAA” x 4). and came with two rolls of thermal paper.

In the picture above, the two piece printer and cassette module was quite a hack. If you were to connect just the printer to the PC-4, for example, you would need to attach the plastic spacer/holder to the PC-4, then plug the printer onto the back of the spacer, using a thumbscrew to hold it together. On the other hand, if you had the cassette module, you can stack the PC-4, cassette interface, then printer together, again, with a thumbscrew holding it all together.

When assembled together, if you have to change the two “AA” batteries in the cassette module, you would need to take the printer off the back of it so that you can remove the battery cover. Further, to charge the printer, the Casio user guide states that it must not be connected to either the cassette module or the computer.
I noticed that the printer needed to be carefully yet firmly pushed into the back of the cassette module in order to make a good connection. The Feed button does not work unless these are connected. Further, an ERR9 will occur when attempting to print if the connection is not solid.
This printer and cassette combo also worked with and was recommended for use with the PC-5 and PC-6 which would be released in the future.
Finding and Fixing a PC-4 Printer
The PC-4 printer, Radio Shack catalog number 26-3652 (also Casio FP-12S) is thermal, using 1 1/2″ wide paper. This is quite small, compared to the PC-1, PC-2, and PC-3 printers (Sharp variants), which used 2 1/4″ paper. Similar to the 2 1/4” paper, this paper is easily found on Amazon and it is inexpensive.
I found one of these printers on ebay with the box. As with all of the other various pocket computer printers such as the printers for the PC-1, PC-2 and PC-3 for example, the NiCd battery pack needed to be replaced. Luckily there was very little leakage.


The Radio Shack version has a noise shield over the battery pack, which prevented any of the leakage or dust from getting into the PCB. The Casio FP-12S had no such shield.
The Casio printer is really quite cheaply made compared to the Sharp models. For example, the battery pack was held in place by melted plastic on either side of the battery. To replace the battery, I ended up using a hot glue gun to hold the replacement in place. The replacement I used was a ready-made AAA NiMH 800mAh pack.

The printer had a similar mechanism to the PC-3 printer where the print head moves on a worm gear which also feeds the paper as it returns back to the left after printing a line.
After replacing the battery pack, I charged up the battery and connected my PC-4. The printer worked! It was a bit odd seeing such a small printout, compared to other models I am familiar with. It appears the printer I acquired was made on or after 1982, by the stamp on the motor. My Casio FP-12S was made in 1988.
I remembered that the user guide for the printer mentions that neither the pocket computer nor the cassette interface can be connected to the printer when it is being charged.
Testing the Printer
The simplest way to test the PC-4 printer is to connect it to the pocket computer with the pocket computer off. Then turn on the pocket computer and press the feed button. If the paper moves or you can hear the print mechanism, then it has a good connection and the battery pack is sufficiently charged.
The PC-4 can echo text to the printer, for example when performing calculations. Pressing the mode key and then 7 turns on the printer mode, and mode 8 turns off the printer mode. This can be used as a quick test of the paper and thermal printing capability and does not require any programming.
Banner Program
My banner program is the benchmark I use to learn the capabilities of each of the pocket computer models and their printers. For some models, this is more challenging due to lower memory available, fewer BASIC commands available, and/or quirks with the printer that need workarounds.
Since I had successfully created a version of the banner program for the PC-6 which uses the same printer as the PC-4, I am already aware of the quirks and capabilities of the PC-4 printer. The PC-6 had 8KB of RAM built in – plenty of memory to work around any limitations which might have been a challenge to work with. However, the PC-4 (without the 1KB memory expansion) has only 544 bytes available. Further, the “A” version of the PC-4 does not support DATA, READ, and RESTORE. This is possibly the most challenging banner program version of all.
When working with the PC-1, which also does not support DATA, READ, and RESTORE, I was able to pack all of the font bitmap data into 46 variable locations. Similar to the PC-1, there are 26 pre-allocated variables, A – Z or A$ – Z$. If you need more than these 26 locations, the DEFM statement can be used to expand this beyond the 26 built in locations. However, variables beyond the 26 built in locations will consume the same memory space as programs would.
I used 6 variables for the banner program itself. This left 20 built in variables already allocated, requiring an additional 27 needed to store the font bitmap data (characters A – Z, space, and 0 – 9). Using the DEFM statement with a parameter of 27 results in 53 total variable spaces. This left only 328 bytes available for the banner program itself.
Building the Font Data
For this version of the banner program, I started with the font bitmap data that I created for the PC-8. However, some modifications were needed for this version.
In the example below, I take the bitmap for the letter “Z” and transpose it in it’s printed form. Note that dashes are used instead of spaces for illustration purposes. Also note that the font bitmap will be expanded by a factor of 2 horizontally when printed. For example, each zero will be two spaces, each one will be two X’s:
BYTE 1: 01100001
BYTE 2: 01010001
BYTE 3: 01001001
BYTE 4: 01000101
BYTE 5: 01000011
Desired Output:
--XXXX--------XX  Direction
--XX--XX------XX      |
--XX----XX----XX      |
--XX------XX--XX      |
--XX--------XXXX     \|/
Because the font is 7 pixels wide, the 8th bit is always zero. Each character needs 5 rows of data. These five bytes above can be represented in decimal form as 97, 81, 73, 69, 67.
All of my previous banner program versions use the same bitmap font data format. However, due to the method I need to use on the PC-4, I need to flip the bitmap data. For example, since there is no bitwise AND function for the PC-4, I need to inspect the lowest order bit first, then right shift, and repeat. In other versions of the banner program, I was able to read the bits from left to right. In this version, I can only read them right to left. This results in the “Z” being printed mirrored:
Actual Output:
XX--------XXXX--  Direction
XX------XX--XX--      |
XX----XX----XX--      |
XX--XX------XX--      |
XXXX--------XX--     \|/
I took the font bitmap data from my previous versions of the banner program and mirrored the bits:
BYTE 1: 01000011
BYTE 2: 01000101
BYTE 3: 01001001
BYTE 4: 01010001
BYTE 5: 01100001
The decimal form for each of these bytes would be 67, 69, 73, 81, 97. I did the same “mirroring” for all of the characters A – Z and 0 – 9. This way the output to the printer is now in the correct order. Now that I have the format of the font bitmap data needed, I need a way to store this into the PC-4 in less than 544 bytes.
Using Less Memory for the Font Data
The font bitmap data in the format I created is 7 bits per row (round up to a byte, 8 bits), and 5 rows per character. There is a total of 37 characters, or 185 bytes. This includes the characters A – Z, a space, then the characters 0 – 9. With only 544 bytes of memory for the program and variables, I could not possibly use the same format I used for the PC-8 and store the font data similarly. Not only that, not everyone has the”B” version of the PC-4 with DATA statement support, nor the 1KB RAM expansion pack.
The PC-4 uses 8 bytes per variable, the same amount for strings or integer values. It already allocates A – Z (or A$ – Z$) and this memory is separate from the program memory. These variables represent available memory. If I use this memory to store the font bitmap data, then I would only need to borrow a little bit more from the program memory for the rest of the bitmap data.
However, I do not have enough memory to store each row of bitmap data (185 rows) into variables by using one variable per row. Instead, I need to use more than a byte’s worth per variable space. By packing more bytes into each variable, I am able to use more of the 8 bytes per variable, and pack more into the same space.
My approach is to pack 4 bytes (or 4 rows of font data) into each variable location. The font data for each character has 5 bytes, one for each row in the character. This requires a total of only 47 variable locations to store all characters from A – Z, the space character, and 0 – 9, which includes 5 rows of 7 bits per character.

For example, the numbers highlighted above (the left column) represent the 5 bytes for the letter “Z”. The data is read by the program from top to bottom, right to left. This means, the data would be read as 97, 81, 73, 69, 67. Notice how the last two bytes in the sequence for the letter “Z” are on the next line, and the first three bytes start in the middle of the row.
The column of numbers on the right is simply the result of “packing” the four values on the left into a single value. For example, if I assign a letter from A to D (from left to right) on each of the four bytes, I can describe the packing as a series of left shifts, using the following example:
(A * 128 * 128 * 128) + (B * 128 * 128) + (C * 128) + DBecause the font bitmap data never uses the 8th bit (it’s only 7 bits wide), I left shift by 7 bits each time, or by the value of 128. This avoids too large of a number which exceeds the computational limit of the pocket computer.
Note that the bytes are stored in reverse order and the bits are mirrored for each character compared to the PC-8 format. This is due to how I have to read each bit, and the limitations of the PC-4’s BASIC commands available.
The data stored in the above format is for the characters A – Z, a space, and 0 – 9. This method consumed only 47 variable locations, 20 of which were the remainder of the built in preallocated variables, and 27 additional variables using the DEFM statement. This translates into an additional 216 bytes of memory borrowed from the program memory.
Loading the Font Bitmap Data
I wrote a program which inputs the font bitmap data into a variable array, leaving some room at the beginning of that array for working variables for the banner program:
400 FOR A = 6 TO 52 : INPUT A(A) : NEXT ANote that with the PC-4, variable indexes start at 0, not 1. I then ran the program above and typed in the following numbers:
76616223
155181215
137337673
136880321
131096831
154297599
152190913
137338952
267625665
266470408
138403968
136331520
18866303
267407636
2113665
67506303
17055743
137346948
267362497
101852232
139550910
160579517
153917642
134849737
135282624
2113790
6502526
6276720
209699084
207946772
33802336
154231264
12497
130023424
131359941
4182144
145805440
154163401
26326233
10474004
171206898
153767758
135267145
114829391
114451657
156394672
60
The data above is the “packed” bytes of font bitmap data, in the order of A – Z, a space, then 0 – 9.
After entering the bitmap data manually, I saved the variables to tape, so they do not need to be manually entered:
PUT "MEM" $,A,A(52)This data can then be loaded again if needed, using:
DEFM 27
GET "MEM" $,A,A(52)
Now that I found a method to store the font bitmap data and character index data with limited BASIC support and limited memory, I then began to solve for the retrieval of the font data (using the $ variable) given the user character input.
Reading the Font Data
The banner program needs to have a method to read each row of font data and examine each bit in the row. There also needs to be a method to either print characters without an automatic line feed or a way to perform string concatenation. The PC-4 printer supports multiple PRINT statements on the same line, without an automatic line feed. Therefore, string concatenation is not needed.
Similar to the PC-6, I cannot use bitwise AND or similar logic to examine each bit in each row of font data. However, I was able to use the same method to determine if the lowest order bit is a zero or one based on even or odd value of the variable. I then used integer division to “right shift” the value to examine the next bit and so on.
The PC-4 does support string inspection commands MID and LEN but does not have any statement to convert a character to an integer. I used the $ variable, which can hold up to 30 characters, for the basis of my own index function to convert a character to an index. D$ contains the letter to print from the user and A will have the index to the bitmap data:
500 FOR A = 1 TO 27 : IF D$ = MID(A, 1); A = A - 1 : RETURN
510 NEXT A : A = VAL(D$) + 27 : RETURN
In order for the above function to work, I needed to initialize the $ variable with the letters A-Z and a space:
$ = "ABCDEFGHIJKLMNOPQRSTUVWXYZ "Because the $ variable is limited to 30 characters, I could not fit A-Z, the space, and 0-9. In the function above, if the input from the user is a number, we fall out to line 510 and assume the input is a number, using the VAL statement to convert to an index.
Since I’m packing 4 bytes into each variable location, this adds a bit of complexity for getting to the first bit in the character to be printed. This is because each character of font bitmap data needs 5 rows, and I am storing 4 rows per variable location. Not every character’s bitmap data directly lines up to a variable location.
Since A points to the character index to be printed, this needs to be converted to the variable index (from 6 to 52) and we need the bit location within that variable for where the font data begins for the selected character. Since there are 4 rows of font data per variable location in the array, and each character has 5 rows of font data, the conversion is fairly simple. Lines 10 and 20 below perform this conversion:
10 INPUT "LETTER", D$ : GOSUB 500 : A = A * 5 / 4 + 6 : MODE 7
20 F = (A - INT A) * 28 : A = INT A : B = A(A) : IF F = 0 THEN 40
30 FOR C = F TO 1 STEP -1 : GOSUB 300 : NEXT C
40 F = 28 - F
Since the first row of font data might not align with the first bit in the variable location, the variable F above is used to calculate where our starting bit actually is for the first row of font data. This is done by taking the fraction part (or remainder) of A and converting the result to the number of bits we need to right shift by (throw away or skip over).
On line 40, I am re-using the variable F to keep track of how many bits are remaining in this variable location before we have to load the next location to continue printing the rest of the current character.
With the storage and retrieval of the font bitmap data solved for, I then focused on the printing of each row.
The PC-4 printer does not have an automatic line feed after each print command. Therefore, I used the print command for each bit in the row:
50 FOR E = 1 TO 5 : PRINT "  "; : FOR C = 1 TO 7
60 GOSUB 300 : IF D = B ; PRINT "  "; : GOTO 80
70 PRINT "XX";
80 F = F - 1 : NEXT C : PRINT ""
The PC-4 printer can print 20 characters per line. The font width is 7 characters, and the printer width unfortunately is one character short for a perfect match for a 1:3 scale upwards. This means a scale of 1:2 is the most we can do for printing each character. This leaves 3 character spaces on the top and bottom of the banner.
Working Banner Program
As it turns out, with the workarounds described above, I was able to write a version of my banner program for the PC-4. This was the most challenging of all models to get a banner program working. With only 544 bytes to work with, limited BASIC support, I was able to make the most out of what was available. This was done with 64 bytes to spare!
The only caveat is the user needs to enter the characters one at a time. This is due to the method I needed to use to read and decode the font data given the limitations of BASIC on this model.


Utilities
Marcus von Cube has posted a series of CASsette IO Utilities which can be used to convert WAV files to ASCII output and vice versa. This is very helpful to avoid typing entire programs into the PC-4 and to be able to visualize an entire program at once on a PC screen.
The list730 and bas730 executables were what I found to be compatible and work with not only the PC-4, but also work with the PC-5 and PC-6. List730 converts a WAV file to an ASCII file. I used Audacity to “amplify” WAV files I have recorded from the cassette interface and then ran them into list730. Bas730 can be used to convert an ASCII file to a WAV file to be loaded into the pocket computer.
Final Thoughts
The PC-4 was one of the first pocket computer models I had purchased on ebay, but the last one I wrote I the banner program for. Since it had only 544 bytes of memory and I did not yet have the expansion memory pack, I had written it off as not possible. However, as I worked on versions of the program for the other pocket computer models, I had made each subsequent version more efficient and smaller, finally arriving at this version, which takes only 480 bytes total. This includes both the program and font bitmap data.
Finding a printer for one of these pocket computers is not easy. I am glad I ended up finding one and getting it working. The PC-4 was one of the lowest priced pocket computers Radio Shack sold, and wasn’t all that bad in terms of capability for the price. At $59.95 for the pocket computer and $19.95 for the 1 KB RAM expansion, this was a far better form factor than the PC-7. This model was far more durable and had the option to add a cassette interface for saving and loading programs and / or a printer.
Program Listing
I’ve included the PC-4 banner program as a WAV file as well as the variable storage file, if you have a PC-4 and the cassette interface:
Note that you need to load both files. The first file (banner) loads the program, and the second file (mem) loads the font bitmap data into the variable space. To load the program:
LOAD "BANNER"To load the font bitmap data:
DEFM 27
GET "MEM" $,A,A(52)
The program listing is below:
10 INPUT "LETTER", D$ : GOSUB 500 : A = A * 5 / 4 + 6 : MODE 7
20 F = (A - INT A) * 28 : A = INT A : B = A(A) : IF F = 0 THEN 40
30 FOR C = F TO 1 STEP -1 : GOSUB 300 : NEXT C
40 F = 28 - F
50 FOR E = 1 TO 5 : PRINT "  "; : FOR C = 1 TO 7
60 GOSUB 300 : IF D = B ; PRINT "  "; : GOTO 80
70 PRINT "XX";
80 F = F - 1 : NEXT C : PRINT ""
90 IF F = 0 ; B = A(A + 1)
100 NEXT E
110 PRINT "" : PRINT "" : MODE 8 : GOTO 10
300 D = B / 2 : B = INT D : RETURN
500 FOR A = 1 TO 27 : IF D$ = MID(A, 1); A = A - 1 : RETURN
510 NEXT A : A = VAL(D$) + 27 : RETURN
A - Letter index
B - Font Row Value
C - Font Row Loop
D - Temp
E - Shift loop
F - Bits left in font row
A(6-52) - Font bitmap