

Repairing a Vintage Realistic Transistor Radio
When I was about 5 years old or so, my grandmother took me to the local Radio Shack store to get me a “transistor radio”. I was too young at the time to understand the transistor part, but radio I understood.
“Solid State” was branded all over electronics during the transition away from vacuum tubes toward transistors and diodes. This was part of the branding for this particular radio also.
This model was released in 1976 and sold through 1982.

Radios were in cars (mostly AM in my experience), and in the house (large consoles with turntables) and clock radios. The radio my grandmother bought me was pocket sized (sort of) and ran on a single 9-volt battery.
I recalled these details when browsing eBay, after seeing this for a few dollars:
This particular radio met its demise by being dunked into a swimming pool. Before that untimely demise, I remember completely scratching the tuning window with the half of the broken antenna. I was 5 years old and did not realize these mishaps were permanently damaging the radio.
Parts Only Listing
When the radio arrived, I put in a 9-volt battery and turned the radio on. Nothing came out of the speaker at all, no buzzing and no static. It arrived as advertised.
I put the radio aside and forgot about it until this week, when looking for a cable for another project. I took apart the case and searched for broken traces, loose wires, and corroded battery contacts.
Of course one of the battery contacts was corroded, so I replaced the 9-volt battery connector. The radio came to life, but it was a bit quiet.
Troubleshooting
The radio received well on both AM and FM, but was far too quiet. Something was still wrong and a repair was needed.
After removing the board from the case, the radio cut out. Something was loose. It ended up being a cold solder joint on a resistor. I fixed that and the radio worked once again.

This cold solder joint must have been the reason the radio was not working when I first got it, and taking it apart must have temporarily budged the resistor in question back into working order.
Low Audio Output
The radio was far too quiet to be usable. At first I suspected the volume pot, and cleaned it with Deoxit Fader F5. It did not help.
I then suspected the AM/FM switch, and cleaned that with Deoxit F5. That did not help either.
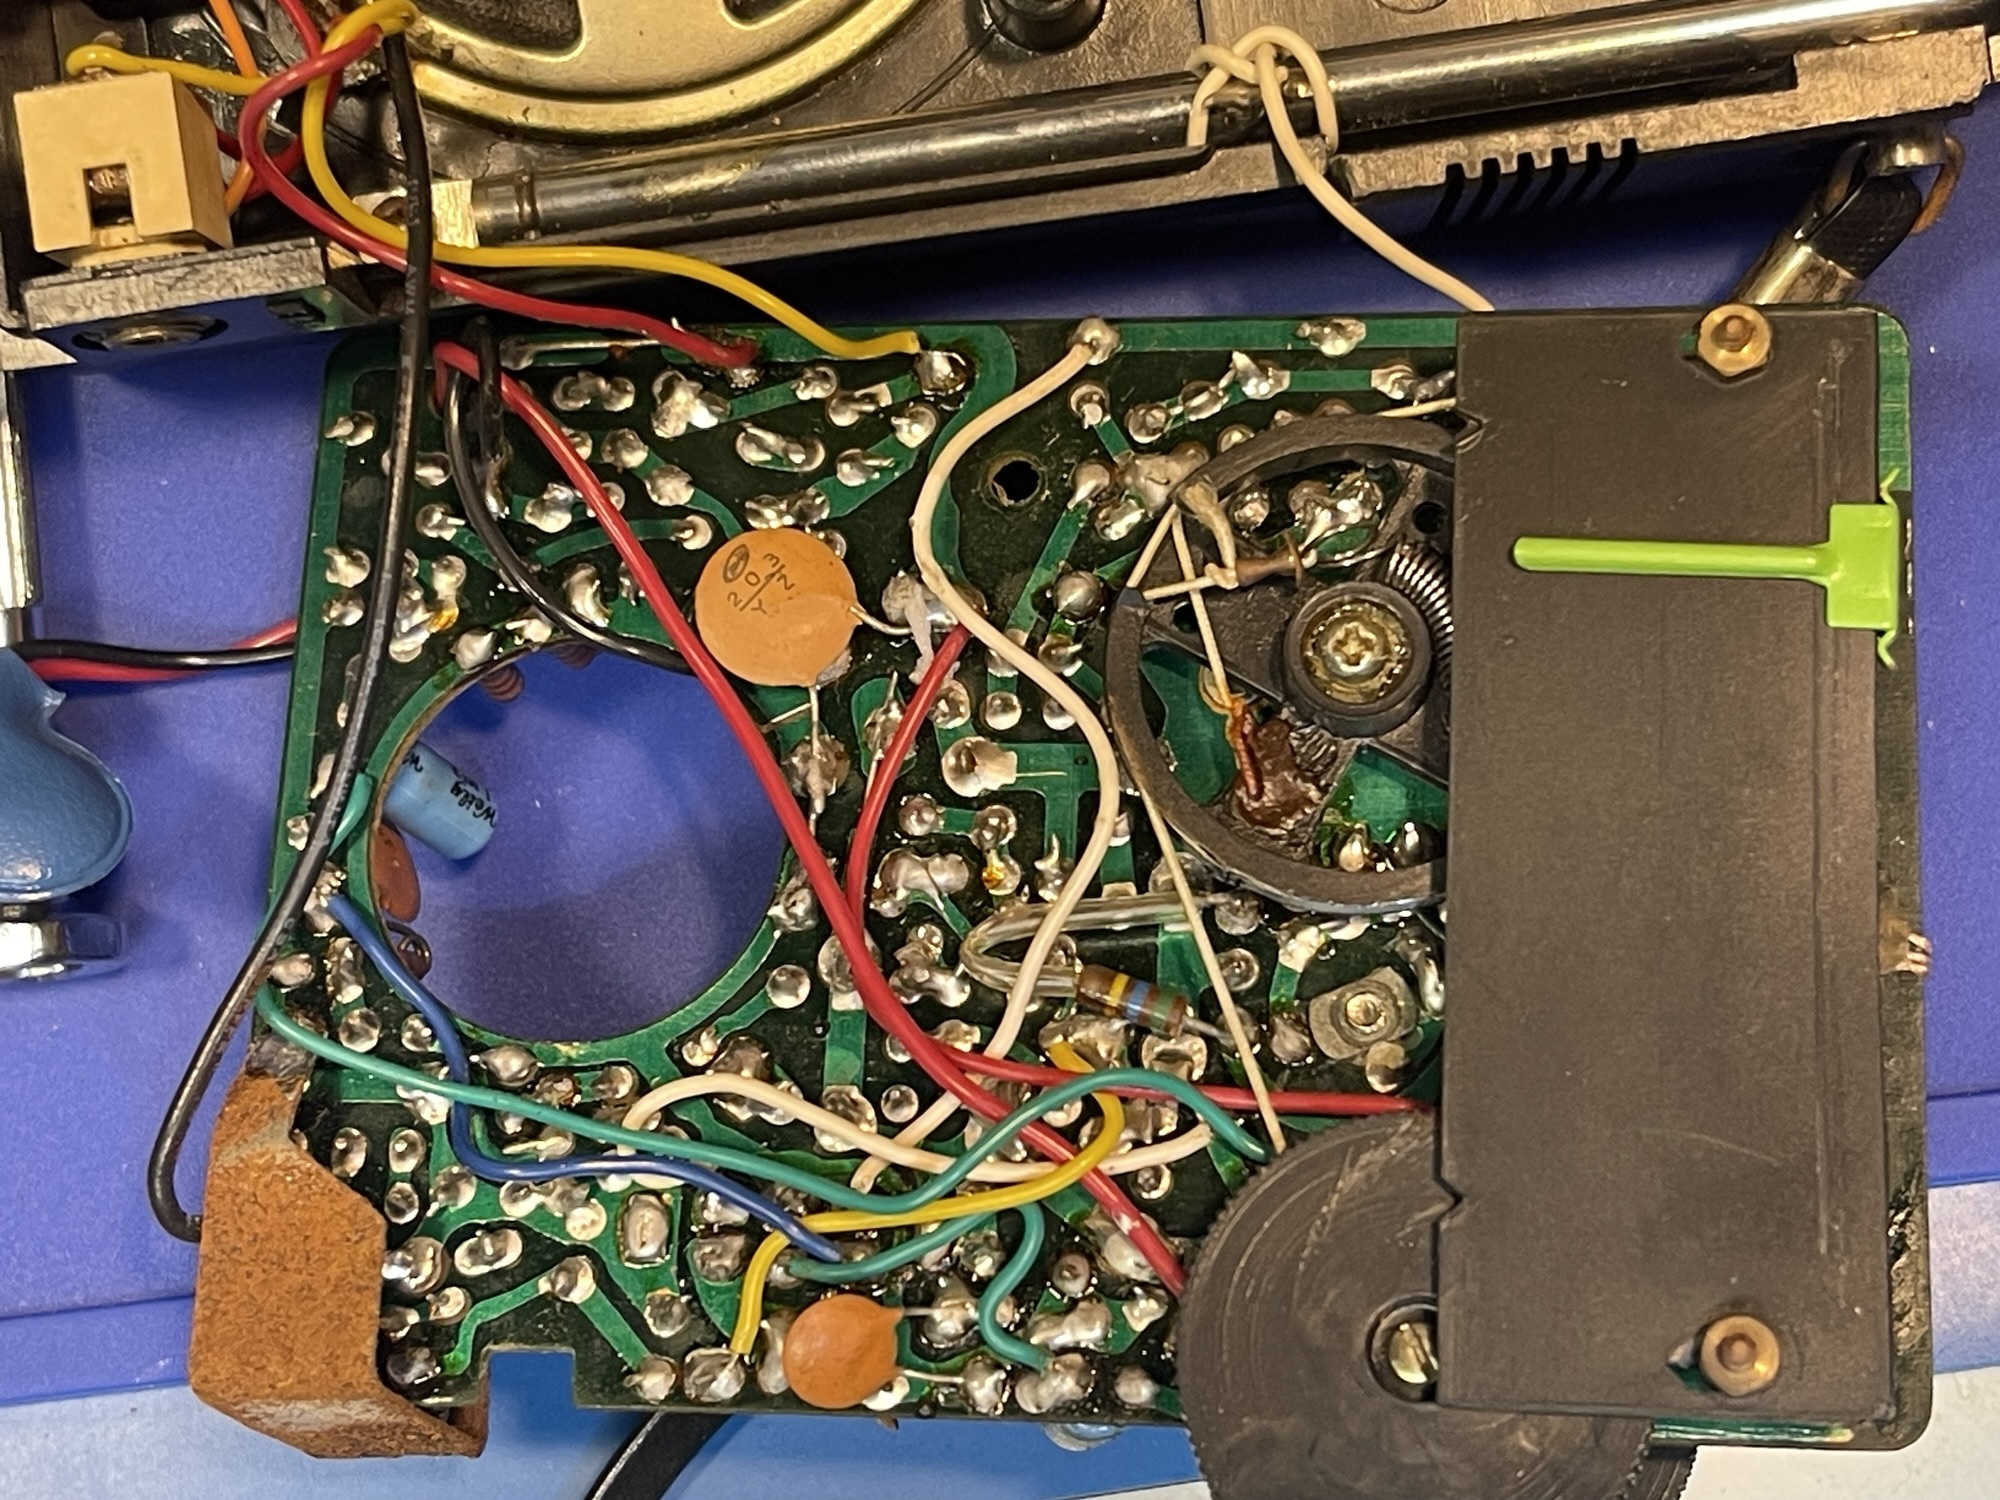
I then began to replace the electrolytic capacitors one by one and testing the radio each time I replaced a capacitor.
Problem Solved
Finally, when I got around to the audio amplifier section, a large 47 uF capacitor was the culprit. It ended up measuring open circuit in my tester when I pulled it off the board.
I ended up changing a few capacitors, only one measured below 2 ohms on the ESR meter, so they definitely were a bit out of spec.

Final Thoughts
Even though I forgot about this radio a few times now, I was able to repair it and add it to my collection of various vintage radios. One of these days I will align it, but for now, it works well enough.


